
This article walks through the steps to create an account and install OneQA.
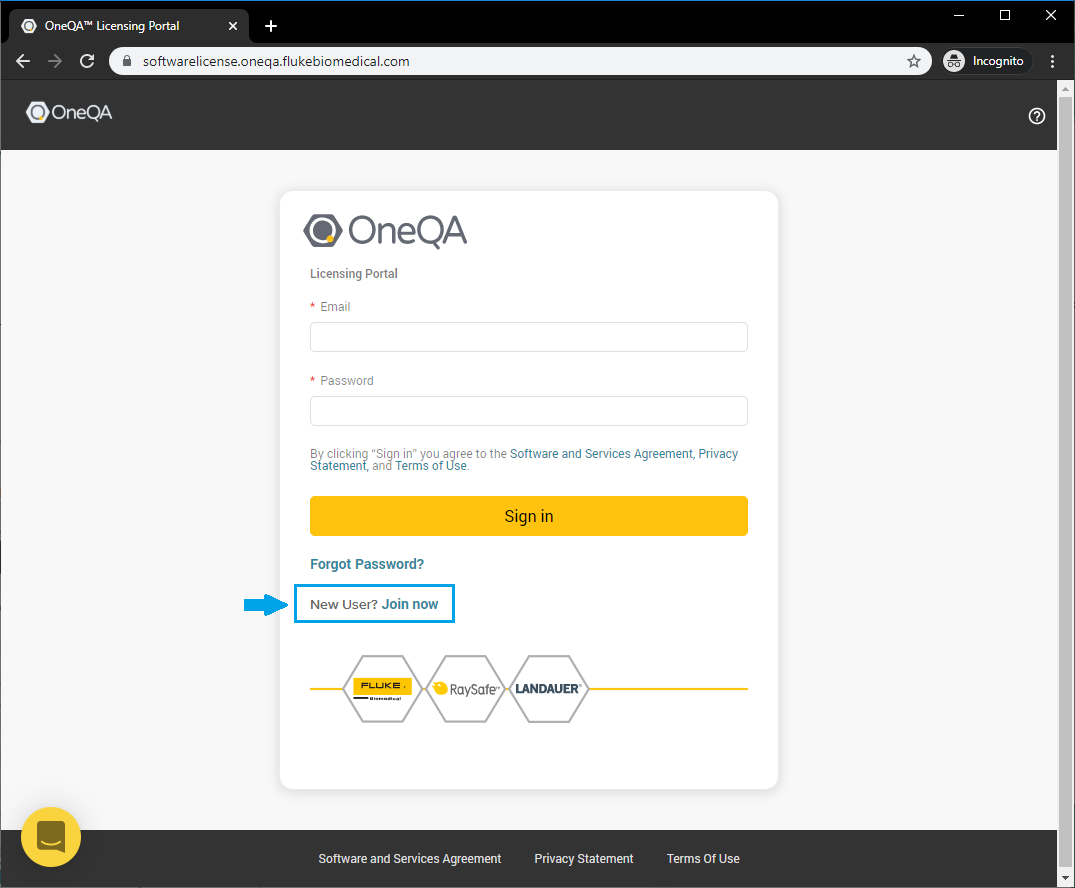
- Open the Licensing Portal in a browser and click Join now.
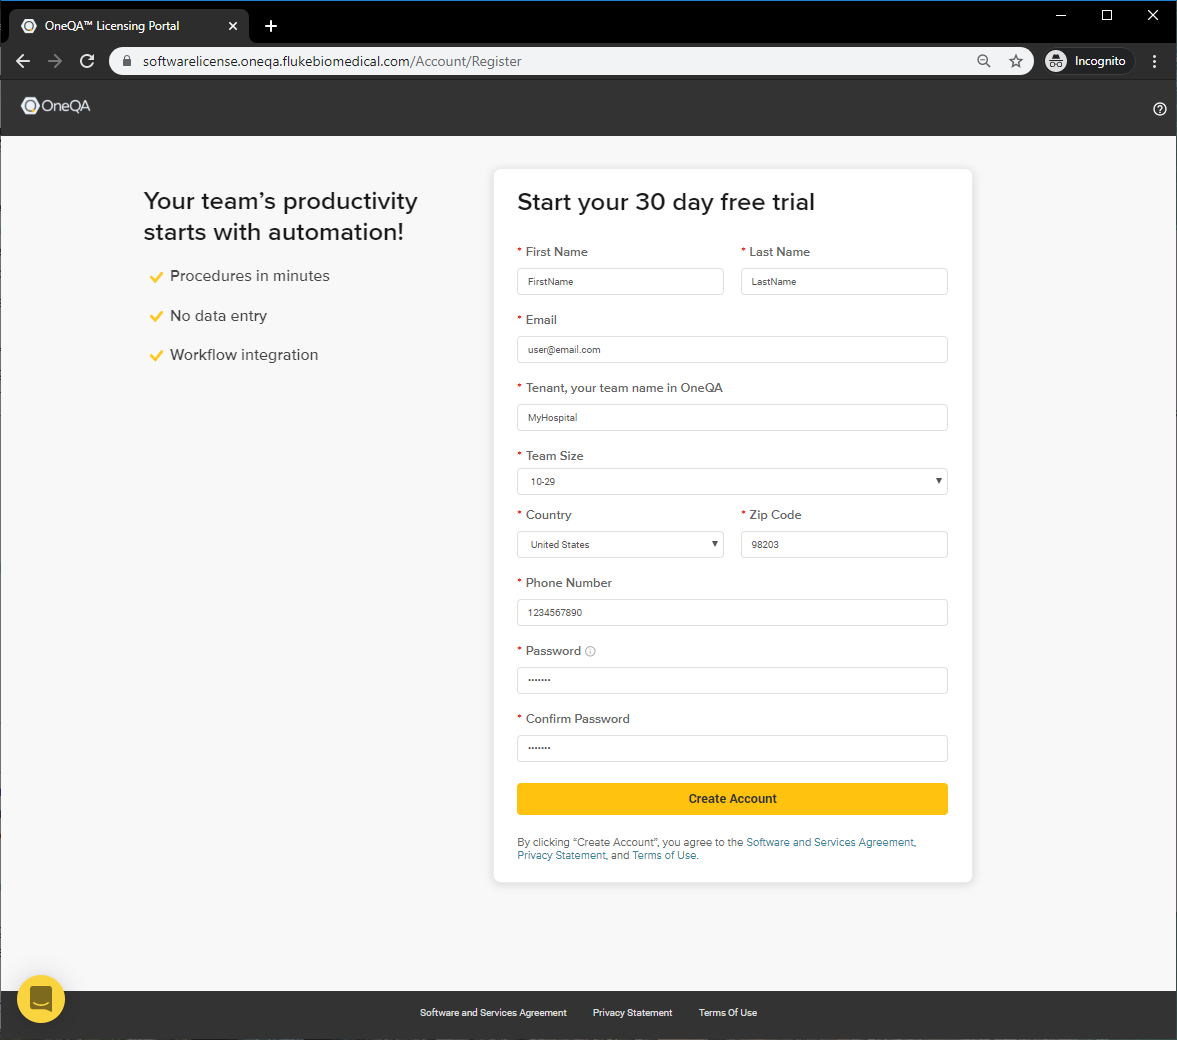
- Create a new user account by completing the form.
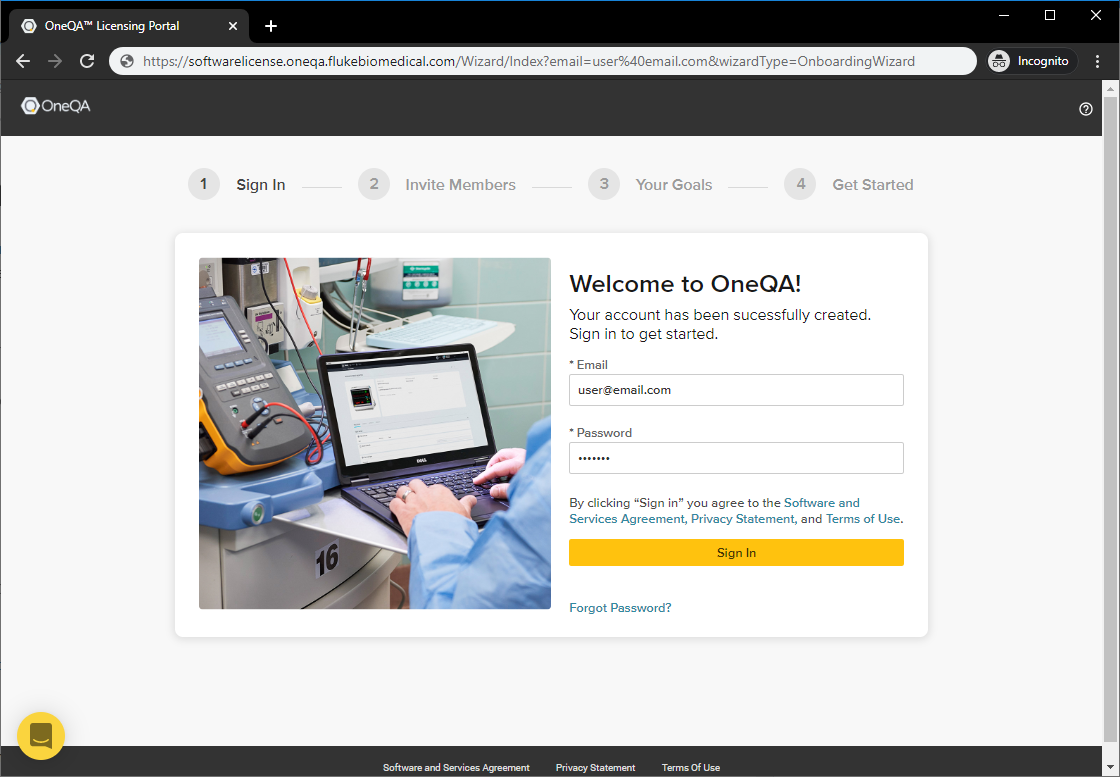
- After creating a user account, a verification email will be sent to the email address provided. After receiving the email, click to Activate Account, which will redirect you back to the Licensing Portal login.

- Enter the credentials for your new account and sign in.
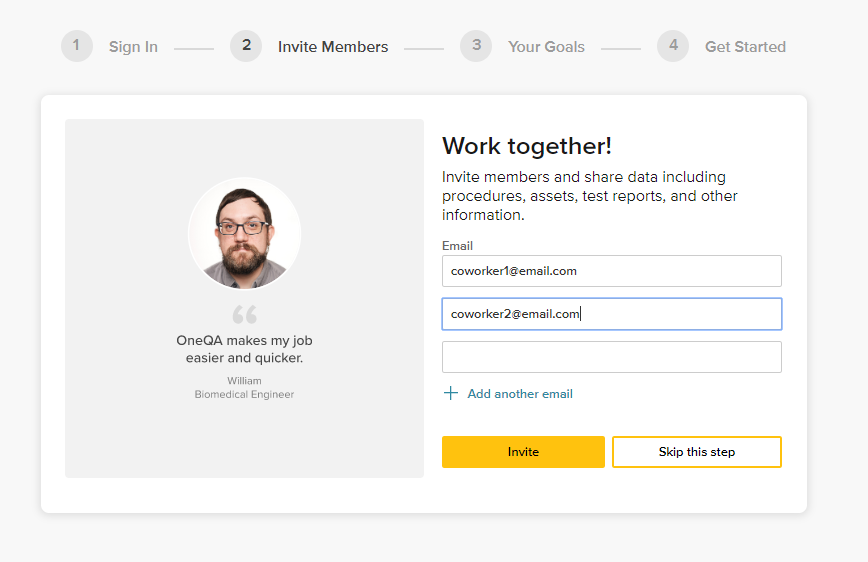
- If desired, send invitations to colleagues' email inboxes with the following form. If they accept, they will join your team and share share data with you, including procedures, assets, and test reports.
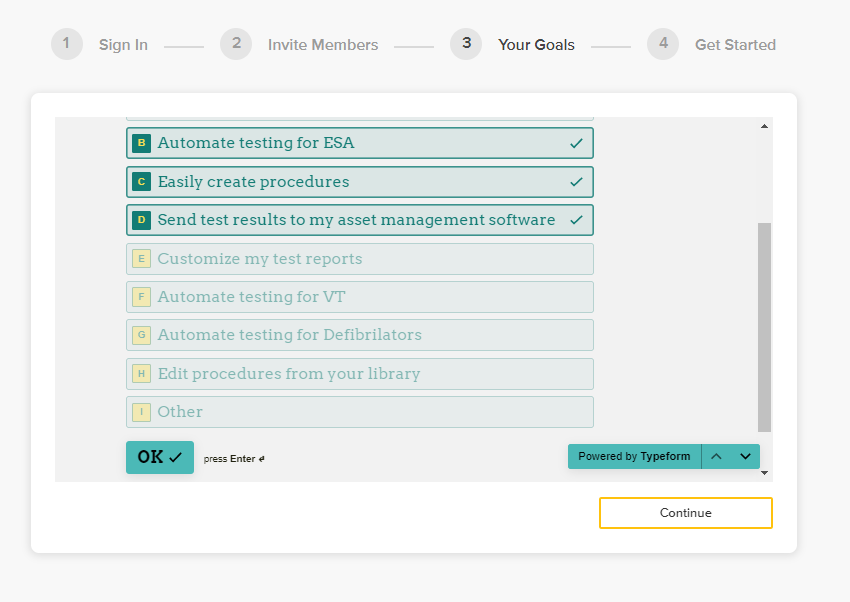
- On the following form, you can provide details about your goals from using OneQA, which will help us tailor your experience to you. Kindly submit your responses and then click 'Continue'.
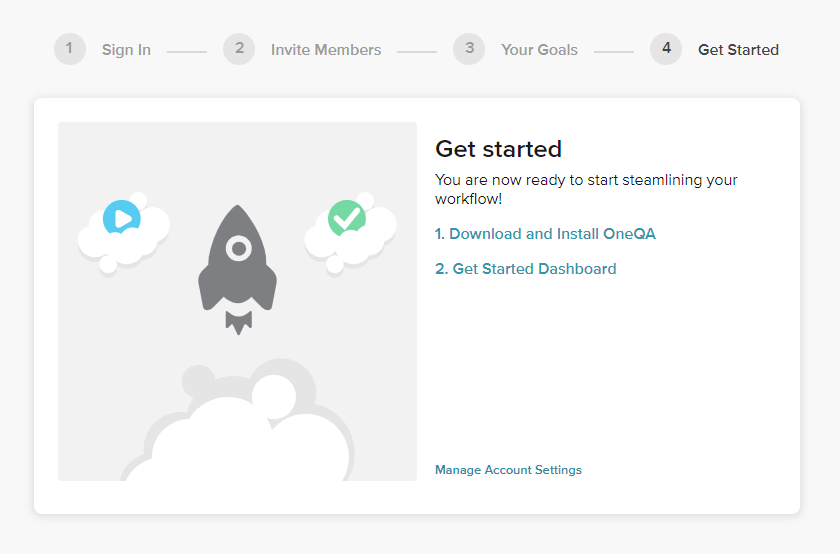
- On the final form, you should first download the installer for the OneQA desktop application.
- Execute the installer and follow the installation wizard to setup OneQA on your PC, then launch the desktop application.
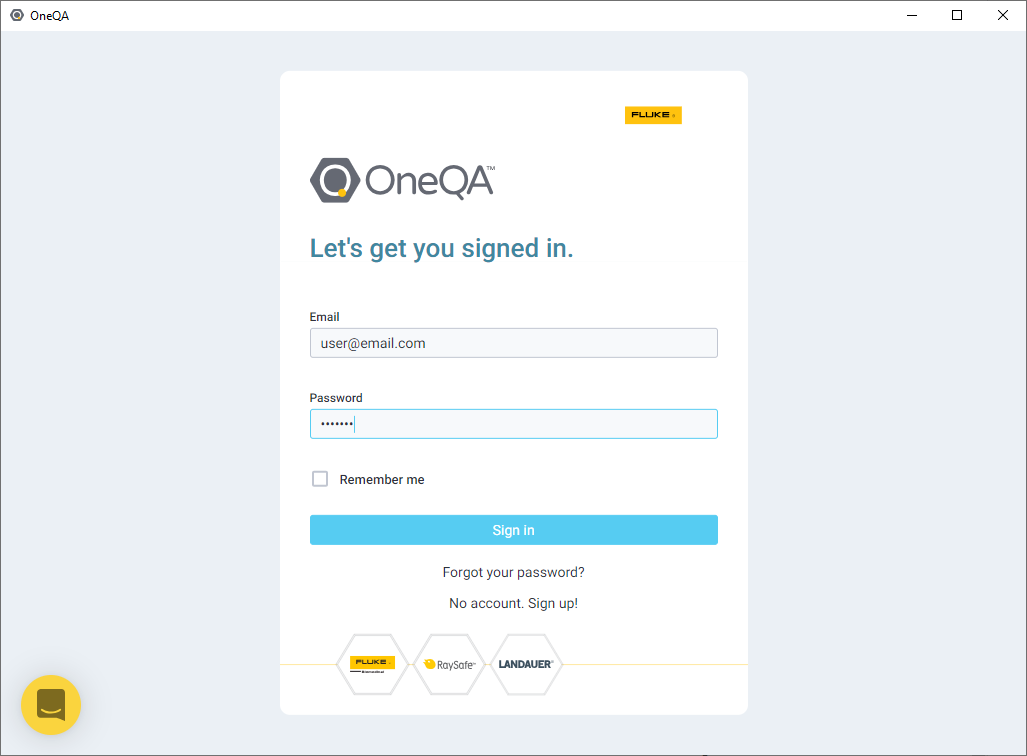
- Use the same credentials for your account to login.
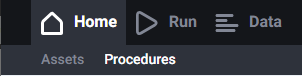
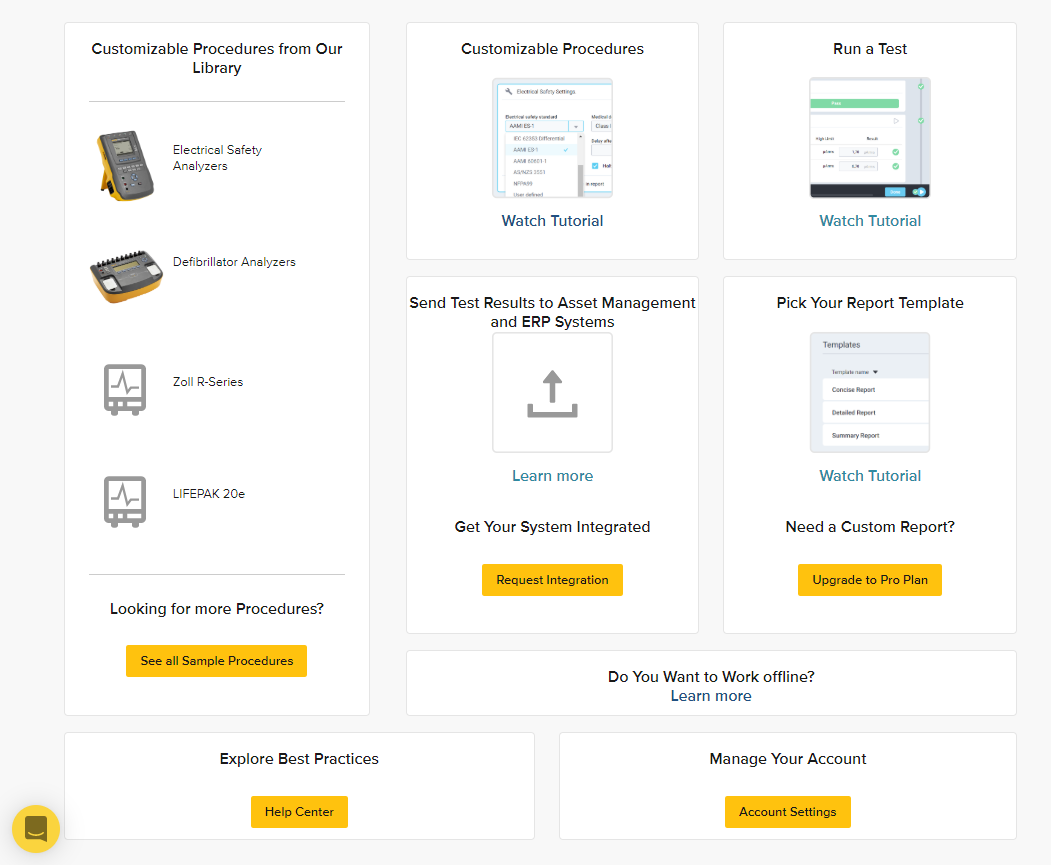
- You will land on the the Assets page, but may not have added any yet. You can return to this later.

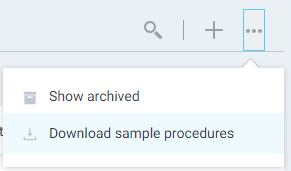
- Navigate to the Procedures page.
- Download the library of sample procedures. This will retrieve a set of procedures that can be modified and run.
 (For more on this, you can read the article on managing procedures.)
 - Before running a procedure, connect your ESA and/or Impulse devices to the PC via USB and power them on. See that they are detected as connected.

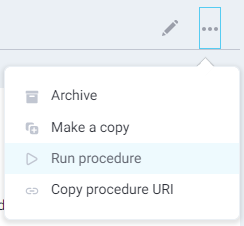
- Now you can run a procedure! Click on a procedure to see its contents.

- Select Run procedure from the procedure's dropdown menu.
- Record results by interacting with each test:

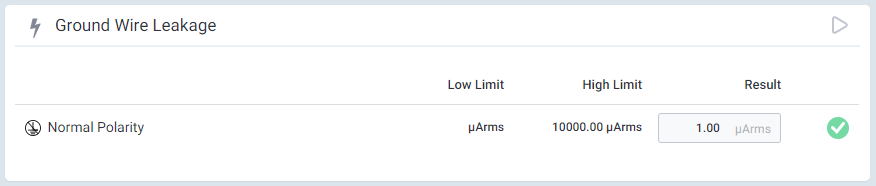
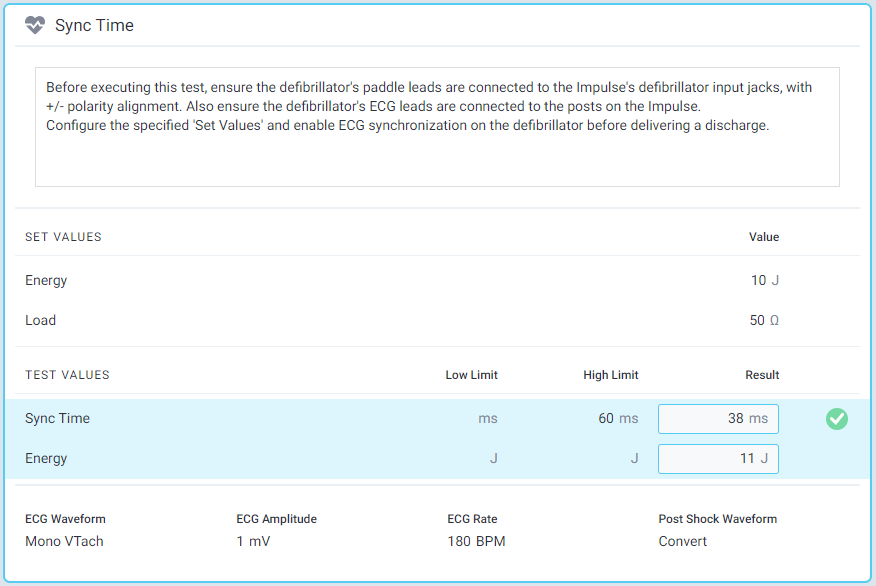 (For more on this, you can read the article on executing procedures.)
 - When you have recorded all your results, click Done to store your result! You can view it in the Results page.
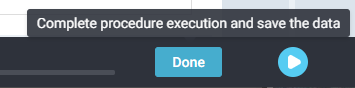
- When you have recorded all your results, click Done to store your result! You can view it in the Results page.
Comments
0 comments
Article is closed for comments.